Print film emulation LUTs for download

2020 UPDATE
NEw RESOLVE Powergrade version of the 2393 LUT
I’ve now built the Kodak 2393 LUT as a Resolve PowerGrade for the standard Resolve YRGB and ACES workflows. This allows more flexibility vs a LUT. It’s now possible to enable/disable or adjust individual components to taste. And you don’t have to worry about the clipping, clamping or general loss of image information that occurs when using LUTs.
The new 2393 PowerGrade can be found here: https://juanmelara.com.au/products/kodak-2393-powergrade
And the ACES version of the 2393 PowerGrade can be found here: https://juanmelara.com.au/products/kodak-2393-aces-powergrade
I’ve also just added a new BMPCC 6K to Alexa Transform PowerGrade & LUTs which can be found here: https://juanmelara.com.au/products/bmpcc-6k-to-alexa-powergrade-and-luts
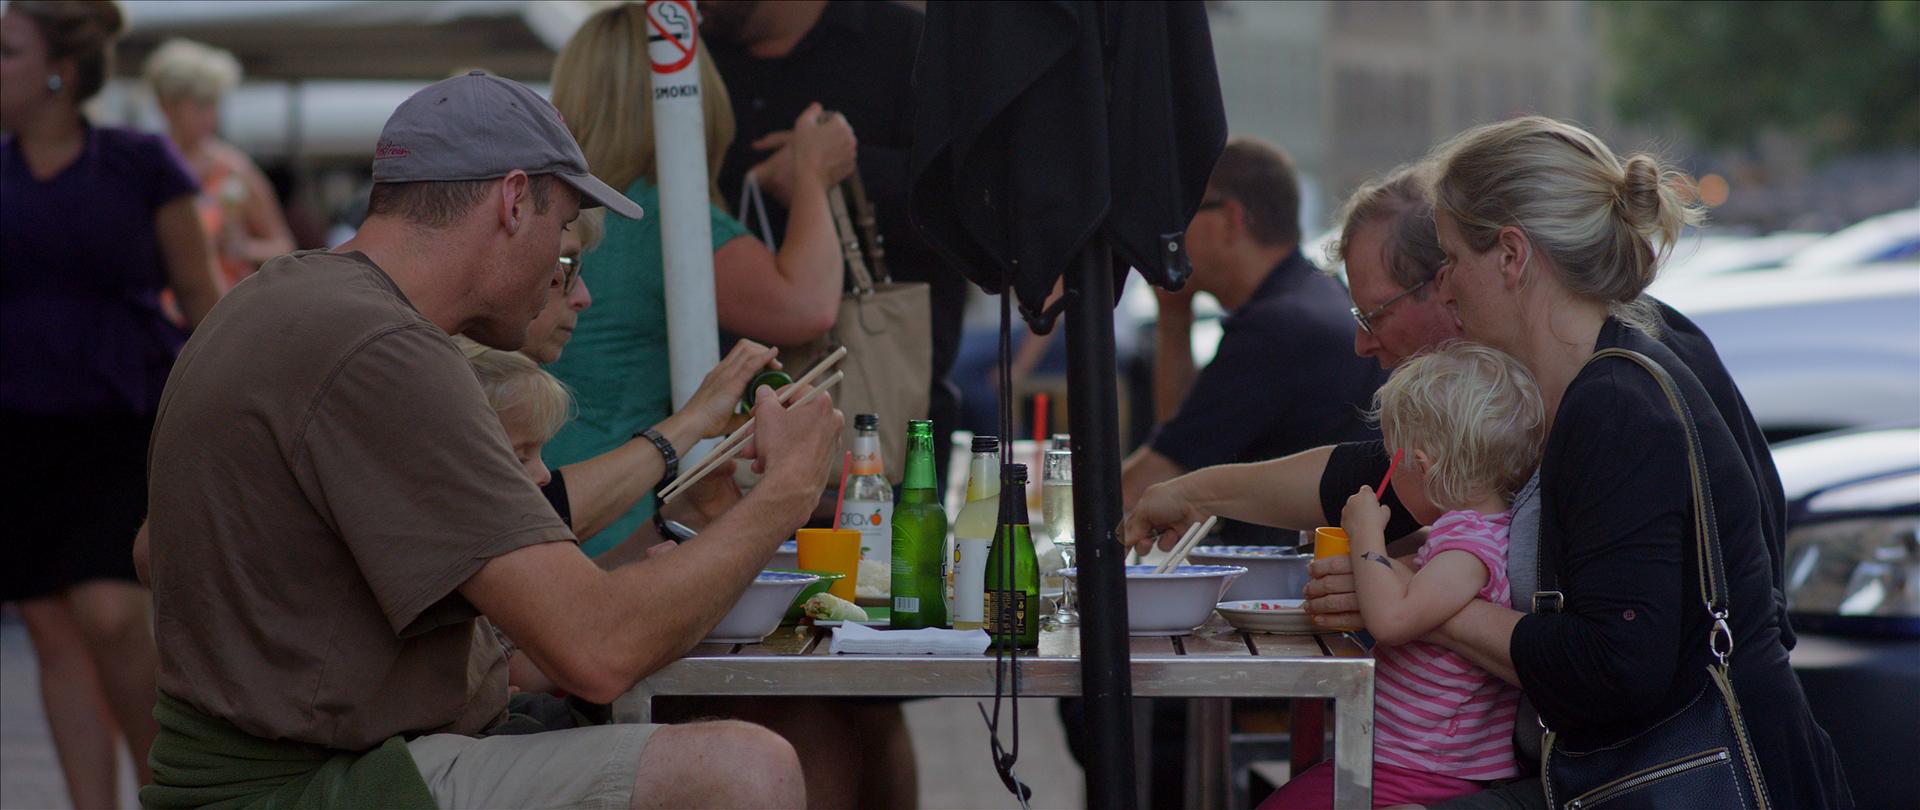
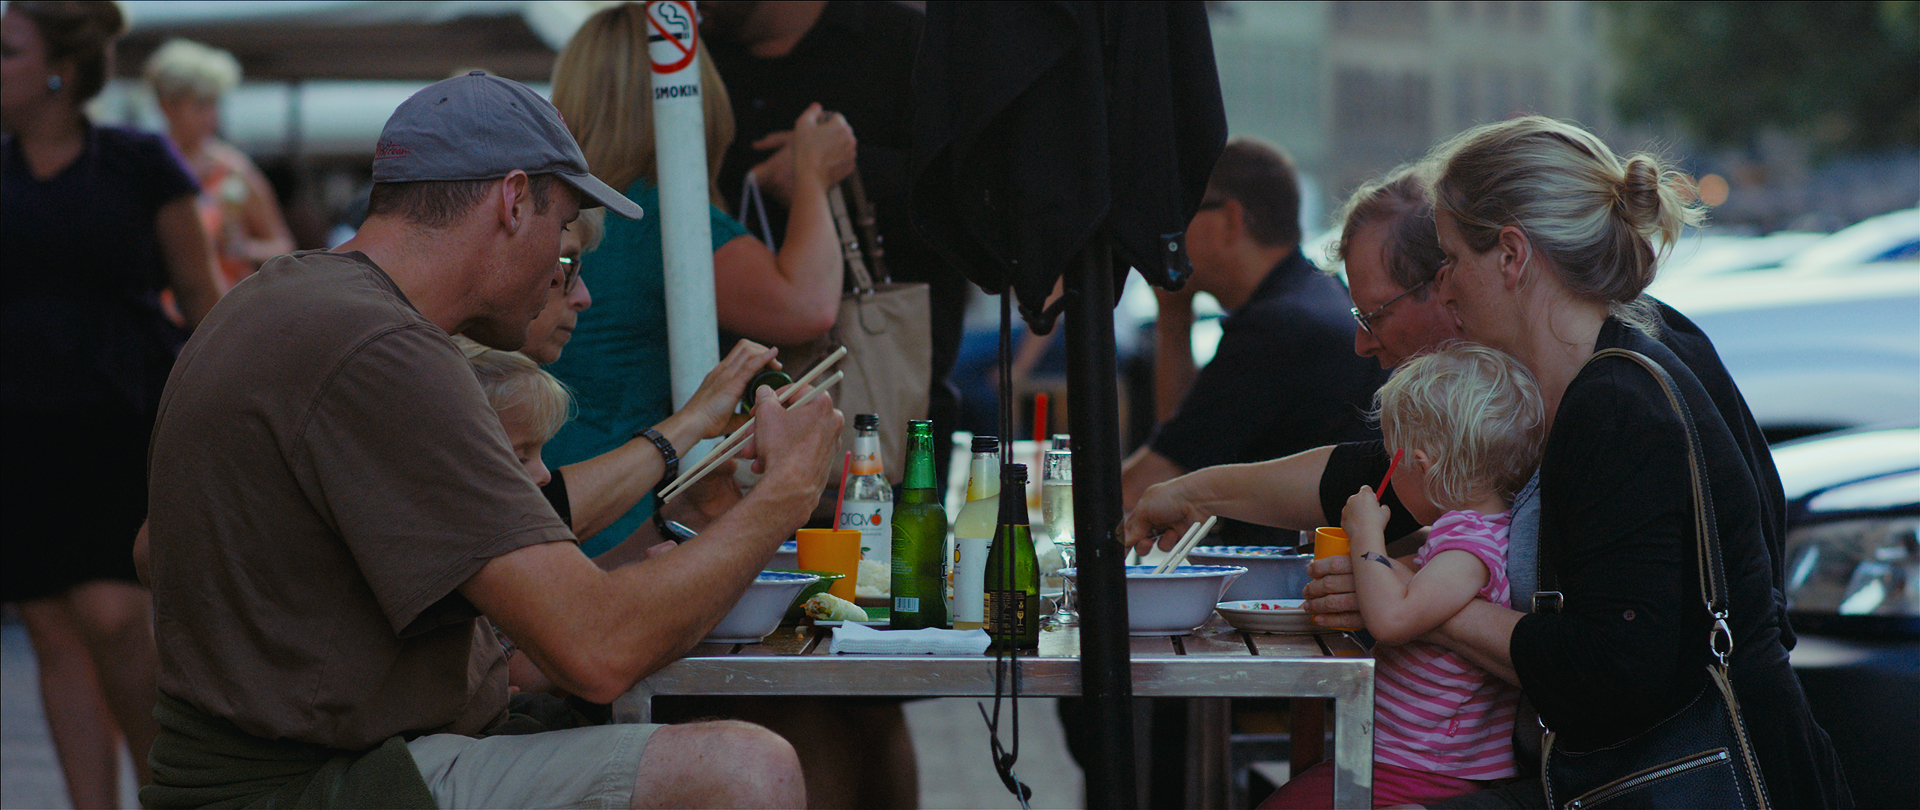
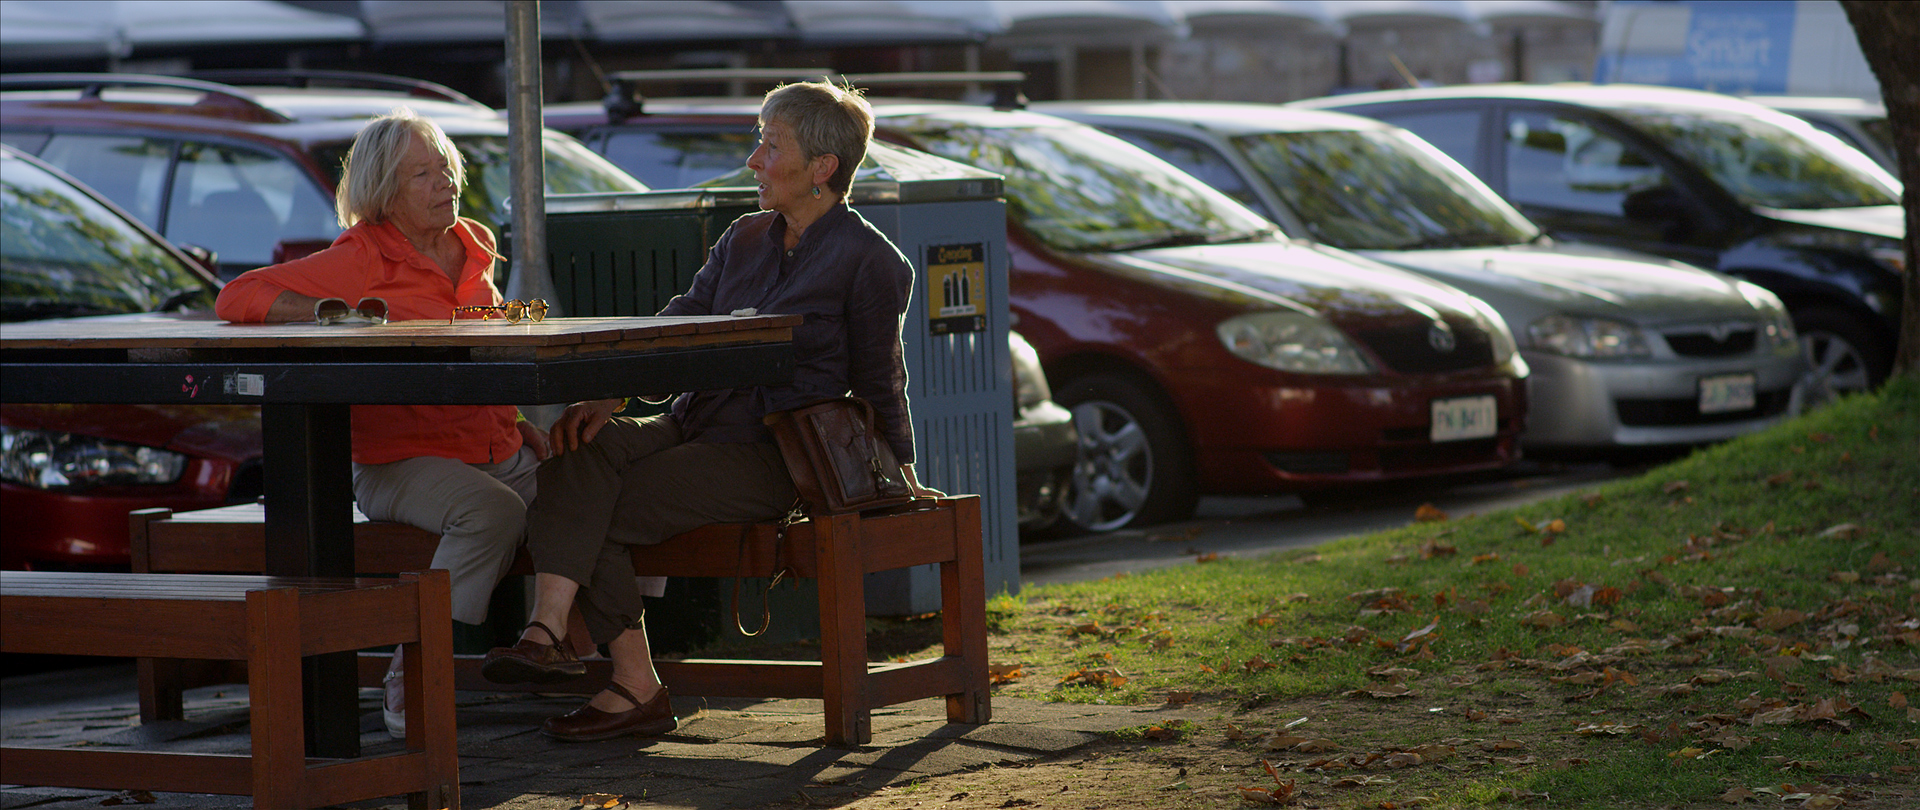
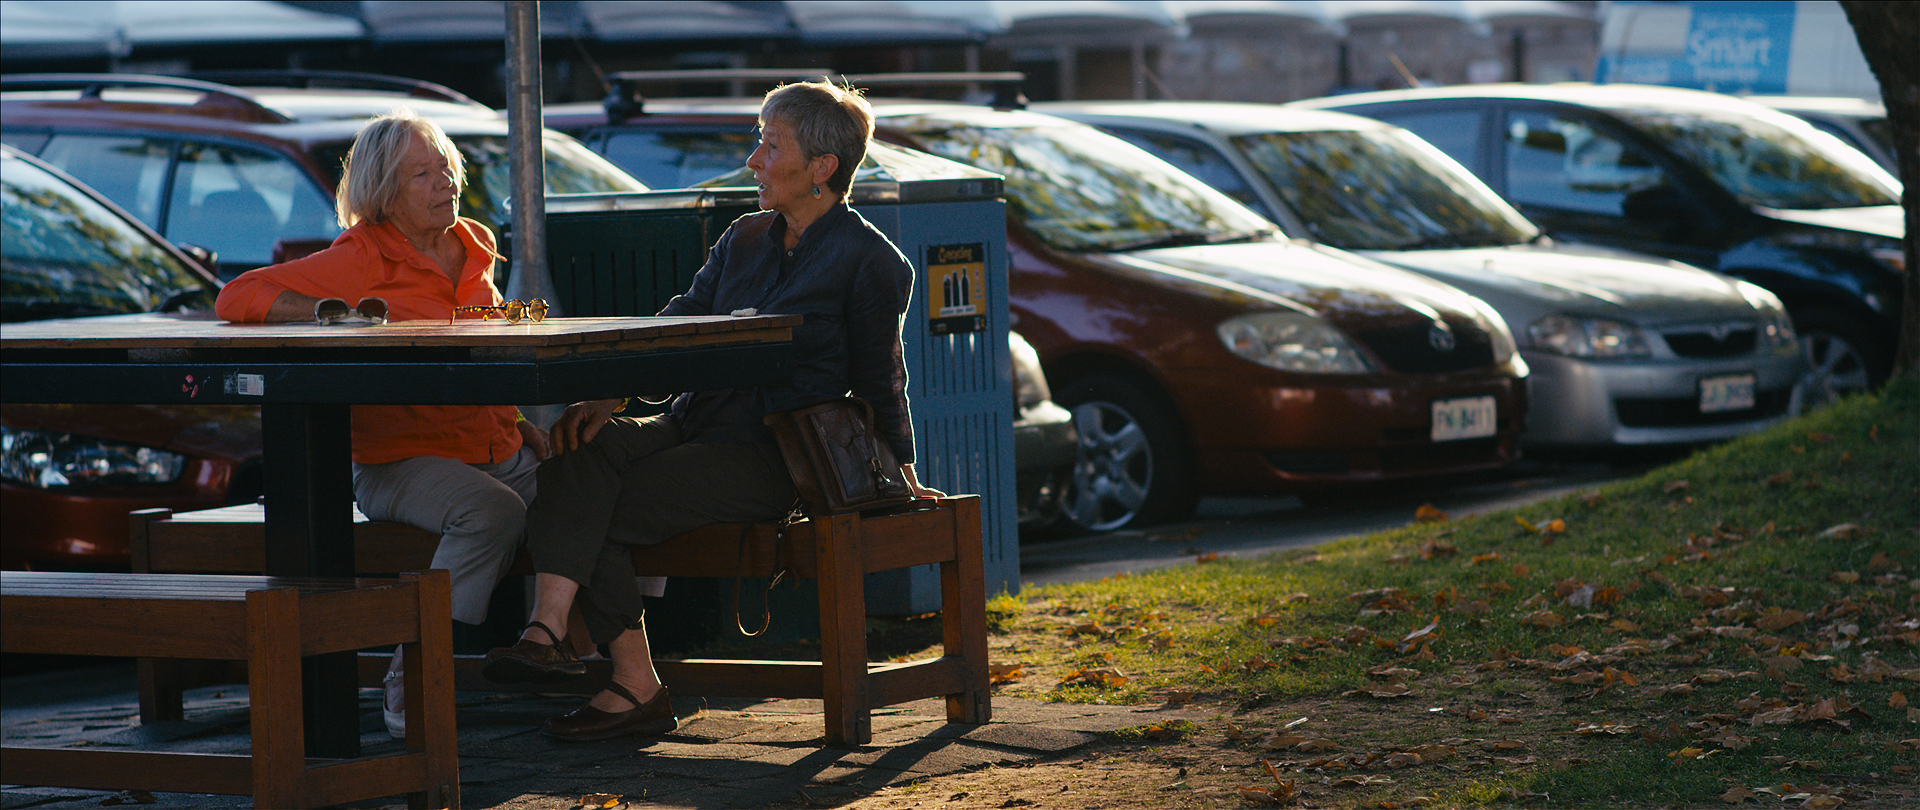
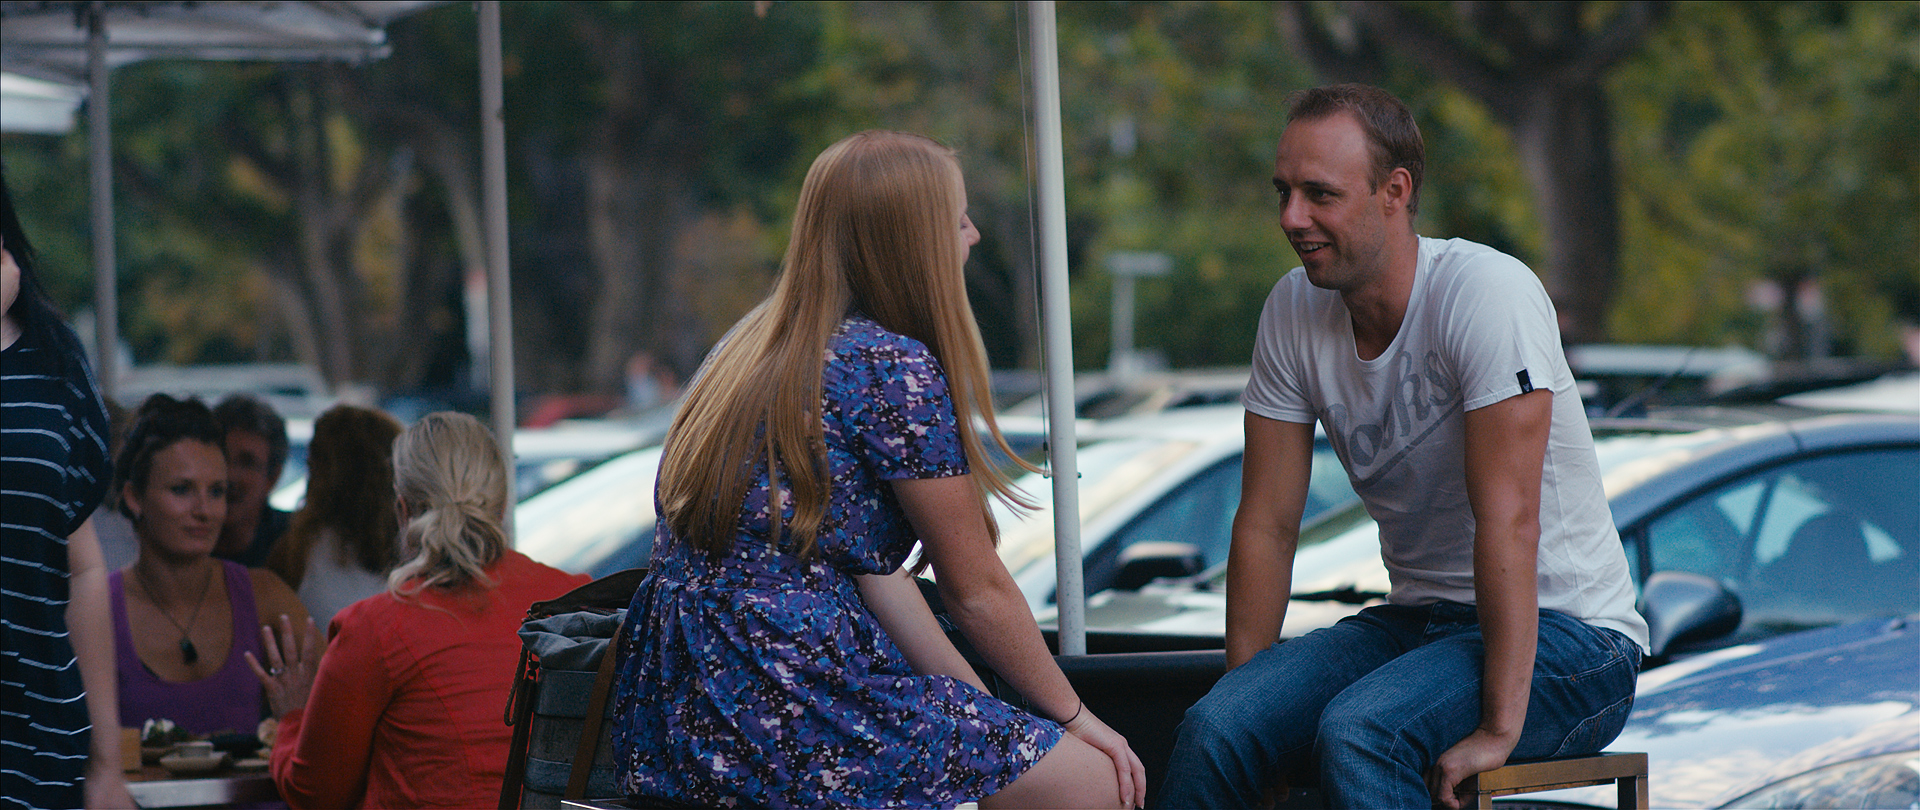
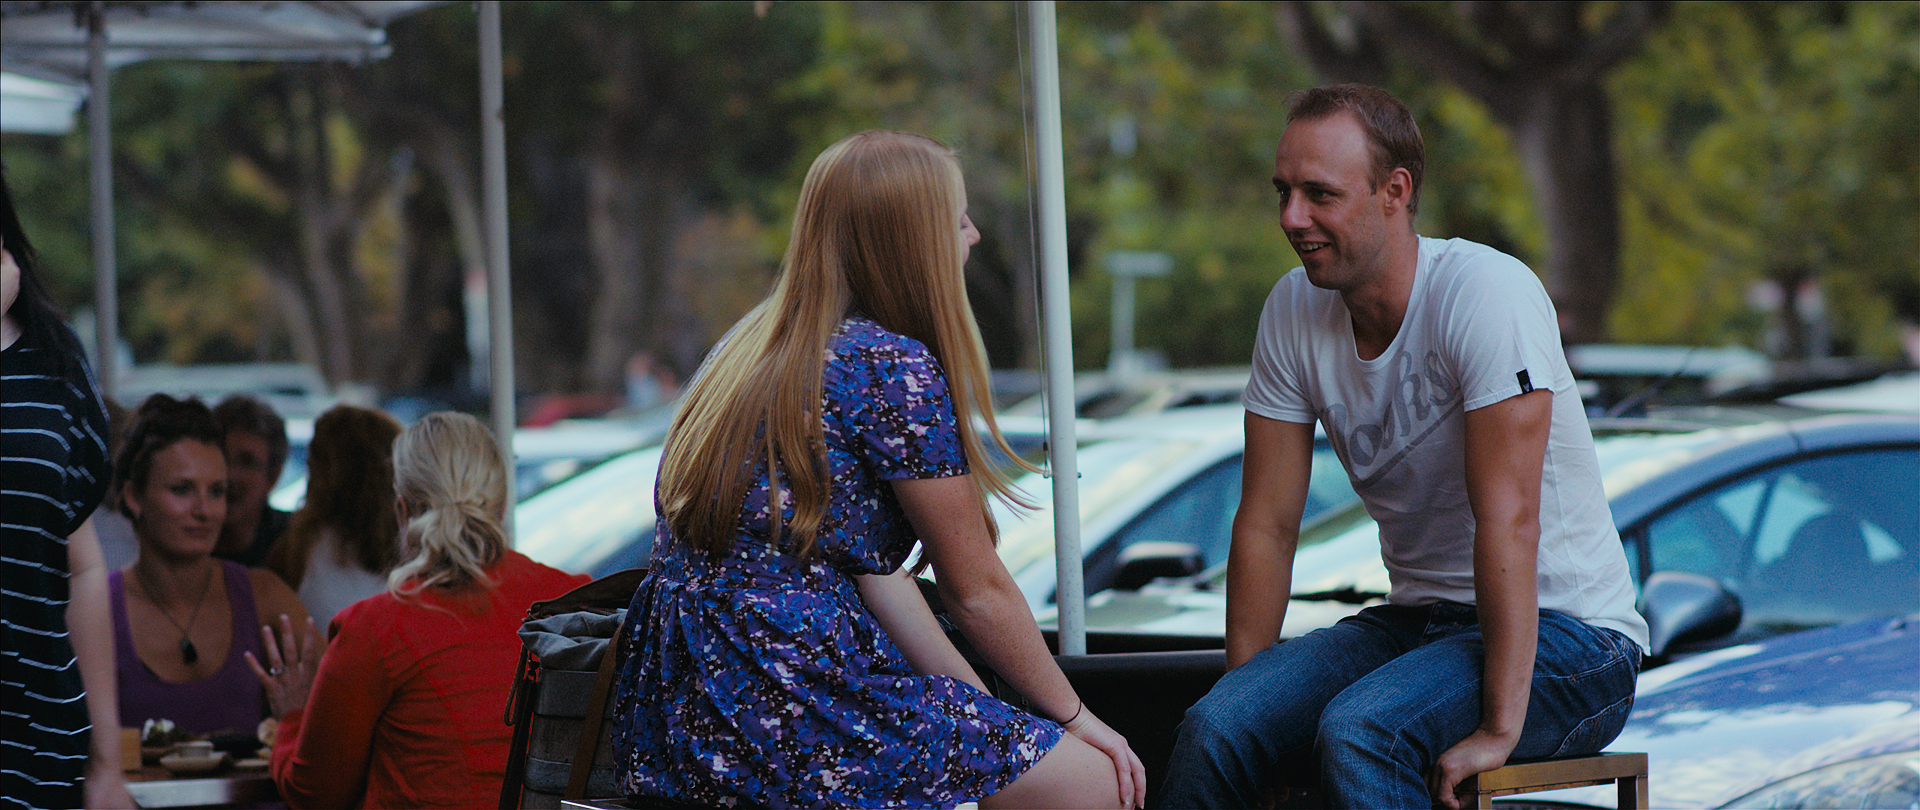
Below are some images graded using the new Kodak 2393 PowerGrade.


The original post from 2013 follows:
What is a LUT?
A look up table (LUT) mathematically translates a set values in your image into another set of values. For example converting a flat log image into video gamma that has correct brightness and contrast, or converting from one colour space into another. Another common use is to preview how your image will look when displayed on a target format or device.
Print film emulation
A film print emulation LUT previews how your image will look like when printed onto a target film stock. It accurately emulates the density and colour response of the film to give you an acurate preview on your grading monitor prior to going to print.
To achieve this accurately your monitor needs to be profiled so that the generated LUT takes into account your monitoring setup plus all the lab variables and the qualities of the final print stock.
This LUT is applied at the monitoring level so that your colour corrections / grading sit below it in the image display pipeline. Prior to going to print you remove the LUT and then output your project. If the LUT is accurate and has done its job, the resulting film print should be close to identical to the preview you've been viewing and grading on your monitor.
Print LUTs for aesthetic reasons and why you should use them
Even if your project is not going to print, you might still want to use a print LUT for the aesthetic effects it has on your footage.
Applying a print LUT is the probably the best "film look" treatment I've seen and the easiest way to make your digital footage look like film. What print LUTs do to the colours and highlight rolloff in your footage is about as close as I've seen to a one click "make awesome" button. Your images will still need work and you will still need to know how to colour correct and grade, but your work can look so much better.
Unlike a lot of products, presets, looks and tutorials I see, a print LUT is actually an accurate and measured emulation of film. And not someone's interoperation of what they think film looks like. I'm often left wondering if the creators even know what film looks like, cause their presets, tutorials and samples most definitely do not look like it!
Print LUTs are easy to use, there are no variables or sliders to tweak and best of all they're free!
Print LUTs for Resolve

Kodak LUTs
I've had a lot of trouble finding print LUTs online. The LUTs I use, have usually come from a download link that has died years ago and I've been converting them from one format to another as I change grading packages.
So I guess you could say there is a real shortage of LUTs online, especially free ones. There are several paid LUTs that I've purchased and while they're ok, I find they're not as good as the LUTs you are about to get for free...
About a month ago Reduser member Bjorn Benckert from Syndicate Entertainment made available a set of print LUTs. Unfortunately they weren't in the correct format for Resolve. So I took the time to convert them into a format Resolve reads. You can download these Resolve ready LUTs here:
Download the LUTs! Also make sure to checkout the Resolve PowerGrade version of the Kodak 2383 LUT here.
In the zip you get the following print film stock emulations:
Installing the LUTs
On a Mac these LUTs need to be placed in Macintosh HD > Library > Application Support > Blackmagic Design > Davinci Resolve > LUT > CineSpace
On a PC place them in C:\ ProgramData \ Blackmagic Design \DaVinci Resolve \ Support \ LUT \ CineSpace
Setting up your footage in Resolve

Red and BMCC Camera Raw Settings
The only requirement these LUTs have is that the source footage is in log gamma.
Red footage
For Red footage set the Gamma Curve to REDlog Film in the Resolve Camera Raw settings
BMCC footage
For BMCC footage set the Color Space and Gamma to BMD Film in the Resolve Camera Raw settings
5D and other Canon DSLRs
Shoot your footage in the Technicolor CineStyle profile.
Other cameras
If your camera doesn't shoot log, or you have existing footage not in log, I have an input LUT that converts video gamma footage into log. If you want this LUT leave a comment or send me an email. I havent worked with it enough to be confident it works well with all footage, so I'm hesitant to release it. But if there's enough interest I'll test it thoroughly and put it up for download.
UPDATE: Here is the input LUT to convert video gamma into log. I haven't had a chance to test it further so feedback welcome. Apply it to the footage by selecting it as the 3D Input Lookup Table. Or on the first node of the grade.
Applying the LUT

Resolve Settings
Once you've setup your footage as described above you'll need to apply the LUT. Since you want the LUT baked into output footage, you'll want to select the LUT as the 3D Output Lookup Table, like below:
Grading with the LUT applied
First thing you may notice after applying the LUT is that the footage looks contrasty and may be lacking saturation. This is normal. The first thing I do is make sure the image is correctly white balanced. Then with the colour wheels in log mode, I usually balance the image by raising the offset and lowering the highlights and increasing saturation. This is usually enough to get the image looking good. Sometimes using the Contrast and Pivot control plus saturation is all you need to do. From there grade as you normally would, but now enjoy film like colours!
UPDATE - real world examples
Interested in seeing what's possible with these LUTs using real world production footage? Check out my new blog post here. Footage courtesy of Alex Montoya, see his Vimeo page here.


Comparisons
Below are a few samples. These are all grabs from Epic footage shot on the Samyang/Rokinon 85mm. The effects of the LUT should be the same on footage from any camera.
The first image of each scene is REDcolor3 / REDgamma3. I've white balanced and added contrast and saturation, basically just a first light - getting it ready for further grading.
For the second image I've left the white balance the same, switched to REDlog Film and applied the Kodak 2393 ConstLclip LUT and roughly matched the contrast to the previous image. By equalising the contrast you can get a better idea for what the LUT does to the colours.
The third image is a quick grade with a slight bit of film grain added. I've tried to keep the image looking neutral so don't expect any stylised looks like you see on the rest of this blog!
It can be hard to see the differences between the images. I recommend opening each full size image in a new tab and flicking back and forth, the differences will become much more apparent. Pay particular attention to what the LUT does to the shadows, highlights, saturated colours and skintones.
Scene 1
Film LUT Scene B 001

Film LUT Scene B 002
Film LUT Scene B 003 Graded

Film LUT Scene B 003 Graded Crop
Scene 2
Film LUT Scene A 001
Film LUT Scene A 002

Film LUT Scene A 003 Graded

Film LUT Scene A 003 Graded Crop
Scene 3

Film LUT Scene C 001
Film LUT Scene C 002
Film LUT Scene C 003 Graded
A few more

Film LUT Scene D 001

Film LUT Scene E 001
When print LUTs may not be appropriate
Adding a print LUT actually degrades your image. You'll notice it removes a lot of colour contrast and hue variation. And the film effect is actually quite strong. So if you're after a clean, slick look or your after neutral images it might be easier to achieve without using the LUT.
Beyond print emulation LUTs
A print LUT is a one size fits all emulation that doesn't take into account the colour response of the camera. A better solution for emulating film is FilmConvert from Rubber Monkey Software.
To quote the site "FilmConvert models the characteristics of the digital sensors, and provides a complex algorithm to transform digital footage to match your favorite film stocks - including negative densities, printer spectral responses and grain response curves."
It works with Red cameras, Canon DSLRs and the GH2 plus it has a generic profile for use with non profiled cameras.
From testing the demo version it seems to match the film look a lot closer and faster than using the print LUT. Definitely give it a look.
FilmConvert - Digital vs Film comparison from Film Convert on Vimeo.
Problems?
If you're having any problems working with the LUTs or can't get them to look good with your footage, leave a comment or drop me an email and I'll be happy to help you out.